Saturday, May 7, 2011

DIY Mother's Day Card

Looking for a last minute something for mom? Look no further!
This post is will give you the tools you need to create a beautiful card.

Option #1: Make your own card.

We at Craftheads love making our own cards, and here are a few easy steps to make one yourself:
1. It's all about the paper: Scrapbooking paper can come in really handy here. And even if you don't scrapbook all that much, it can still be used for a ton of non-scrapbooking-related projects. Pick out a pretty piece of paper to use as the background for your card.
2. Card stock: (This is optional if your scrapbooking paper does not have a design on both sides.) If you choose to use card stock, cut it down a few centimeters smaller than the size of the scrapbooking paper, and then secure with glue dots.
3. Inside text: Do you want to include some not handwritten wording on the inside of the card? If so, one way to do this is type up the text and print it out. Alternatively, you can use adhesive letters. The text on the card below was printed, and then cut out and secured with glue stick.
4. Make it your own: Add ribbon! Add glitter! Give it that "je ne sais quoi" that makes it extra special. In this case, we used ribbon and actually stumbled across a "MOM" in an advertisement (for some Mother's Day sale) that fit perfectly with the color scheme -- it was meant to be!
5. Add your "tag": You know how Hallmark has that gold crown on the back of their cards? Come up with a symbol, letter, sketch -- something that symbolizes you to give your card an extra touch.


Funny story about this card (above). My mom and I made it together for my grandma (hi grandma!). This was after we spent entirely too long walking around, unimpressed with the card selection at a few stores. We decided that we could make a prettier card ourselves (and also make one that didn't cost $5!). I think it came out really well.


Option #2: Use a template.
I've been looking for some Mother's Day craft ideas online and there are some fabulous templates and free downloads that people have made and have graciously shared with cyberspace. If you don't have the time to make a card like in option #1, you can pick one of these beauts that will be sure to WOW your mom.

(Photo is property of MUFN INC)
What a gorgeous card! And Pauline also gives you a tutorial about how to make a tissue paper pom-pom bouquet.


(Photo is property of Rhonna Designs)
I love the texture of this card and the scrapbooking feel it has. Absolutely stunning!


Martha Stewart's website is another treasure trove of inspiration! Here are two cards inspired by the crafters at Martha:
This one is simply little tissue-paper flowers crumpled into little layers of complimentary colors

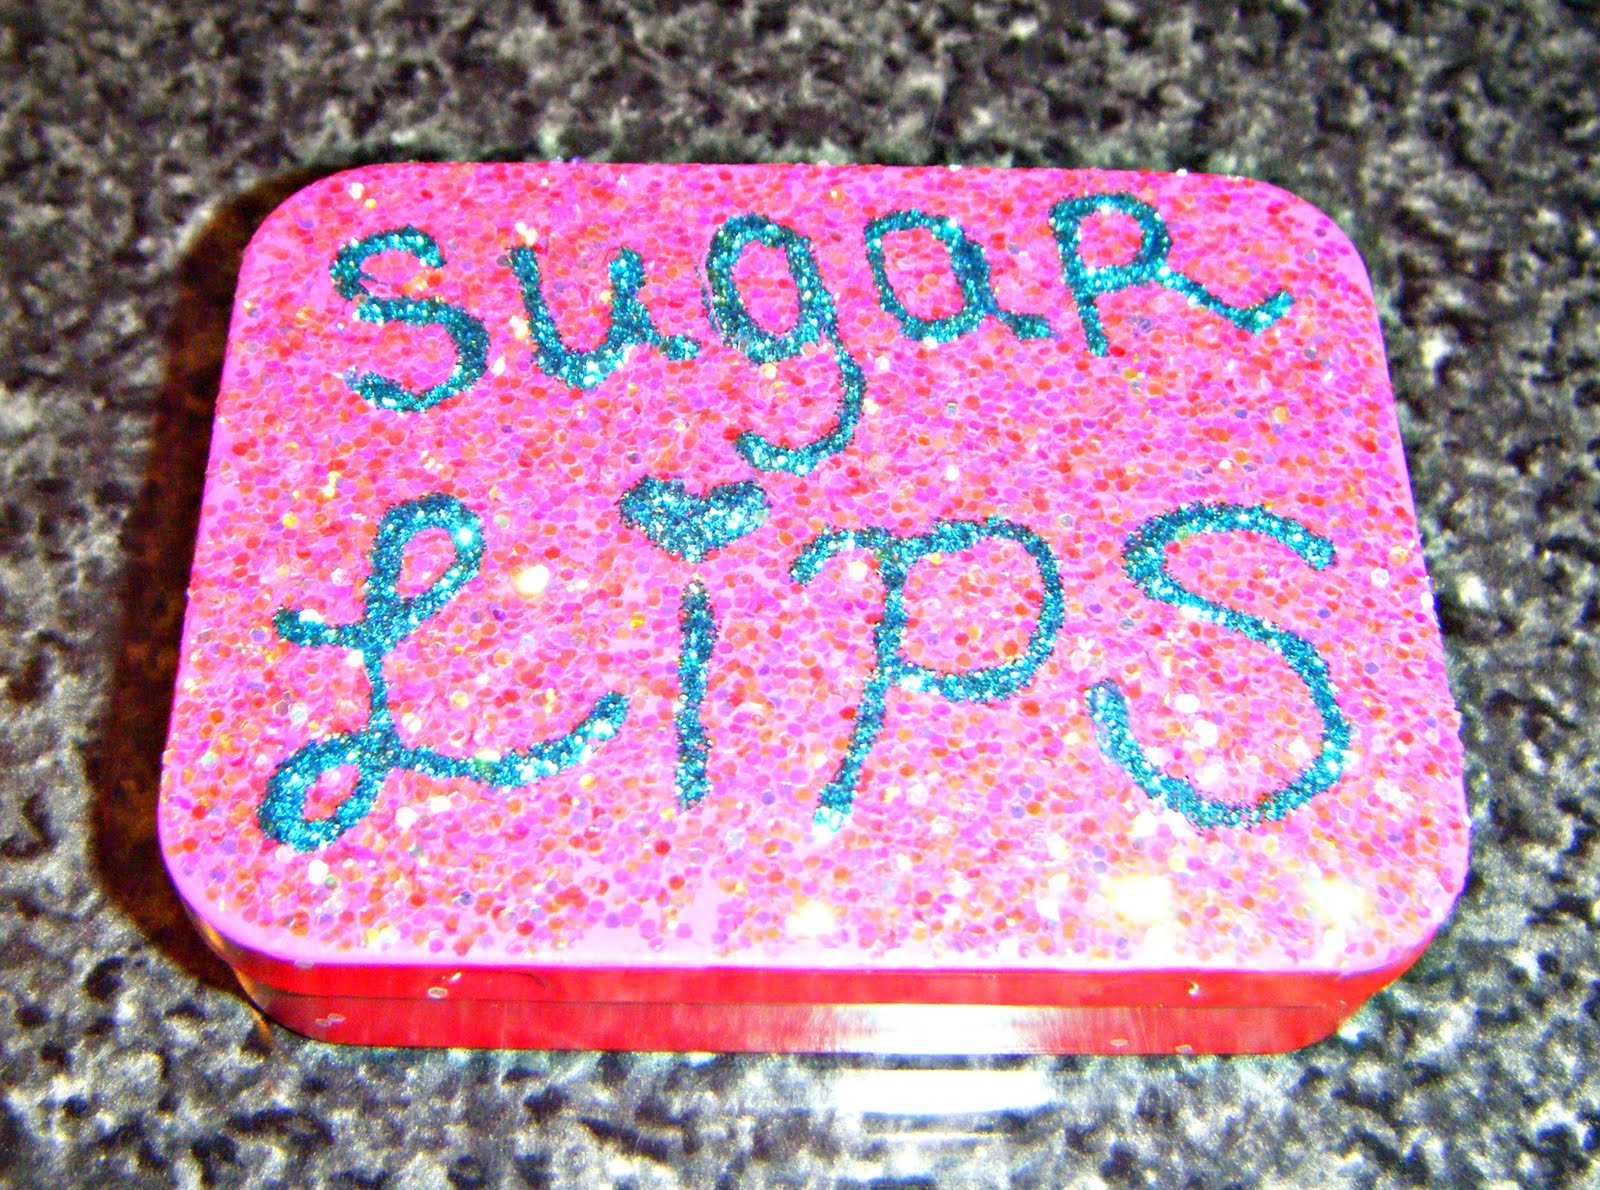
This one is just a drawing covered entirely in glitter! I used a glue pen (from Michael's) for accuracy.


What kind of a card are you giving your mom on Mother's Day?
What are characteristics of a great card?

With love and glue dots,
Laila and Kat

Sunday, May 1, 2011

A splash of colour...

I am an eco-nerd. I try to recycle and repurpose objects first instead of just throwing them away. Part of the reason why I love crafting so much is that you can customize everyday objects and give them a "facelift" so to speak without breaking the bank. Since I really enjoy painting, this post is about how simple acrylic paint can be used to spruce up everyday objects and make them new again.

This first project was actually done a few months ago. We're big on having fresh flowers around in my family, and so I wanted to customize this empty wine bottle and turn it into a vase that matched our kitchen. I hand painted flowers on the vase with forest green, light peach and white paint. I like how you can see the texture of the thick brushstrokes so clearly.


Next, is a gift I had crafted for my dad for Christmas. He asked for a Keurig coffee machine, and I wanted to make him a personalized K-cup holder to store the coffee packets. Again, for this project I used acrylic paint on a wooden box. Then, I added brown glitter on the front of the box to give the effect of steam coming out of the cup.


The last craft is probably my favorite of the three. I started with a red tin that my uncle had given me to craft (thanks, Uncle Mike!). I wanted to turn it into a mint tin that could fit in my purse. I'm a big fan of glitter, and I wanted to make this tin bright and sassy. I started with a few coats of hot pink acrylic paint, and then poured pink glitter on top while the paint was still drying to act as an adhesive. After the glitter dried, I used blue puff paint to write "Sugar Lips." I could not be happier with the result.


I'm always looking to revamp everyday objects so if you have any suggestions please let me know.

Reduce, reuse & recycle,
Kat

Tuesday, April 26, 2011

Here Comes Peter Cottontail!

If you celebrate Easter, then you've most likely dyed an easter egg at some point in your life! I have vivid childhood memories of those tiny color tablets fizzing in in vinegar, a pungent smell portending the creative whirlwind I was about to share with my fellow crafters. This was the first year since high school that I've been home to celebrate this vernal holiday and I was delighted to share the tradition of egg dying with my young nephew and cousin. Ultimately, I had grand, Martha-esque designs for decoupage eggs, but my plans were foiled by a hectic month of April. The traditional dyed easter eggs, however, did not disappoint this ambitious crafter.


Here we have a simple dye job made fancy by some sweet little embellishments - a wonderful way to use up those miscellaneous items in your scrapbook supply that you never quite knew what to do with!


I think these three eggs are my favorites (shhhh don't tell the others!) - I used a special metallic easter egg set (found at any drug/grocery store) over eggs that had been dyed vibrant colors. The kit provided


The eggs above have been dyed solid colors and, once dry, were coated in glue and showered in very fine glitter (iridescent on the left, and pink on the right)


This look was accomplished with a green base dye followed by some yellow sponging. Sponging kits are very easy to find around Easter time - check anywhere that sells regular kits.


 The crayon method is probably the first we learn as children - using a clear crayon to prevent dyeing in a certain area, thus creating a pattern. On the left, we have squiggly edges (the egg was subsequently glittered) and on the right is a shout-out to my boyfriend!


Here's a creative cover-up job carefully executed by my mom. My five-year old nephew got a little overenthusiastic with his dye, resulting in a putrid color. My mom salvaged the egg with some sponging and silver metallic papers.

..............

The artistry need not cease with crafting! I decided to get creative with this year's desserts! My mom used a Christmas tree bundt pan for her carrot cake (oops!) so I appropriated an Easter theme by spreading orange icing over the triangular mounds, forming carrots! Parsley was placed underneath each carrot, and peeps make for a tasty addition.


As cute as the bundt cake is, I wanted to make something a little more involved to bring to my boyfriend's house on Easter Sunday. I settled on this delicious carrot cheesecake recipe from Martha Stewart's website.

For the miniature carrots I used half a block of marzipan - I kneaded several drops of red and yellow food coloring into the marzipan until it was satisfactorily orange and then small rolled balls - about 1.5 cm. I rolled each ball into a conical (or carrot) shape and scored each of them with a toothpick that had been dipped in cocoa powder.


I added the carrots about halfway through the cheesecake's chill-time and again used parsley to simulate carrot greens. Everyone thought they were real!!


Voila! The finished product (still in a springform pan):


I hope the Easter Bunny treated you all well!

Peace, love and glue dots,
Kat & Laila

.... and Karma!


Wednesday, April 20, 2011

craftheads [kræft-hɛdz]: people who are addicted to crafting.

We are craftheads.
...Hardcore scrapbookers
...Extreme painters
...Glitter-philes
...Extravagant bakers (well, half of us)
...Eccentric sewers
You get the picture.

This blog has been our goal for months now, and we're finally getting it up and running! We're so excited to share our ideas and also learn from our fellow online craftheads.

Check back very soon for updates!

Peace, love and glue dots,
Laila and Kat