Sunday, October 30, 2011

Trick-or-Treat!

Here's a tasty treat that I crafted just in time for Halloween!


(Note: the ah-dorable labels were a free download from the beautiful website: Living Locurto)

Happy crafting.
Love,
Kat

Monday, August 22, 2011

A Long Time Ago in a Kitchen Far, Far away


Determined to make good on an extremely ambitious birthday promise, I was faced with the task of creating a DEATH STAR birthday cake for my six-year-old nephew. Although I'm sure he envisioned an edible version of his 3,417-piece lego, I decided on a three-tier cake featuring the Empire's famous satellite as a topper. The black cake is dotted with silver dragees and edible mini silver stars and features my nephew's name in a yellow-fondant "Star Wars" font. And what would a such a party be without lightsabers? We found some neat little light-up figures to fill that need!

For the Death Star, I rolled white fondant out over a tin foil ball and used a toothpick to fashion grooves. Next I darkened the grooves with black food coloring and coated the entire satellite in a matte silver edible glitter.


May the force be with you, Craftheads!

Friday, August 12, 2011

Engagement Extravaganza!

Felicitations, fellow craftheads!!!!

My beautiful cousin Catherine is getting married to her high school sweetheart in December of next year and I'm thrilled to be her maid of honor! When she told me she wanted to get "crafty" for the engagement party, I was naturally excited. We were mainly in charge of desserts for the affair and boy, did we get our creative juices flowing!

Our most daunting task was the party favors - Catherine and Tim absolutely love black and white cookies, so we decided to inject a little purple (part of the wedding's color pallet and Tim's favorite color) and make "save the date" cookies for everyone to take home.

To get the perfect, circular shape, we trimmed the top off of a plastic cup and poured batter in it as a little mold. For icing perfection, we used a piece of computer paper as a stencil to ensure the glaze would form a straight line. We used melted chocolate for the writing and once they were fully dry, we wrapped them in cellophane, donning them with purple curly ribbon.


Next up: Engagement ring cupcakes! I used a coconut cupcake recipe and topped them with a chocolate ganache. Then, we used engagement ring chocolate molds (A.C. Moore's) to create these white chocolate wonders.

Catherine dusting the rings with iridescent (for the diamond)
and silver (for the band) sugar-glitter.


And voila! Delectable cupcakes! For an alternate design, we made white-chocolate drizzle hearts.


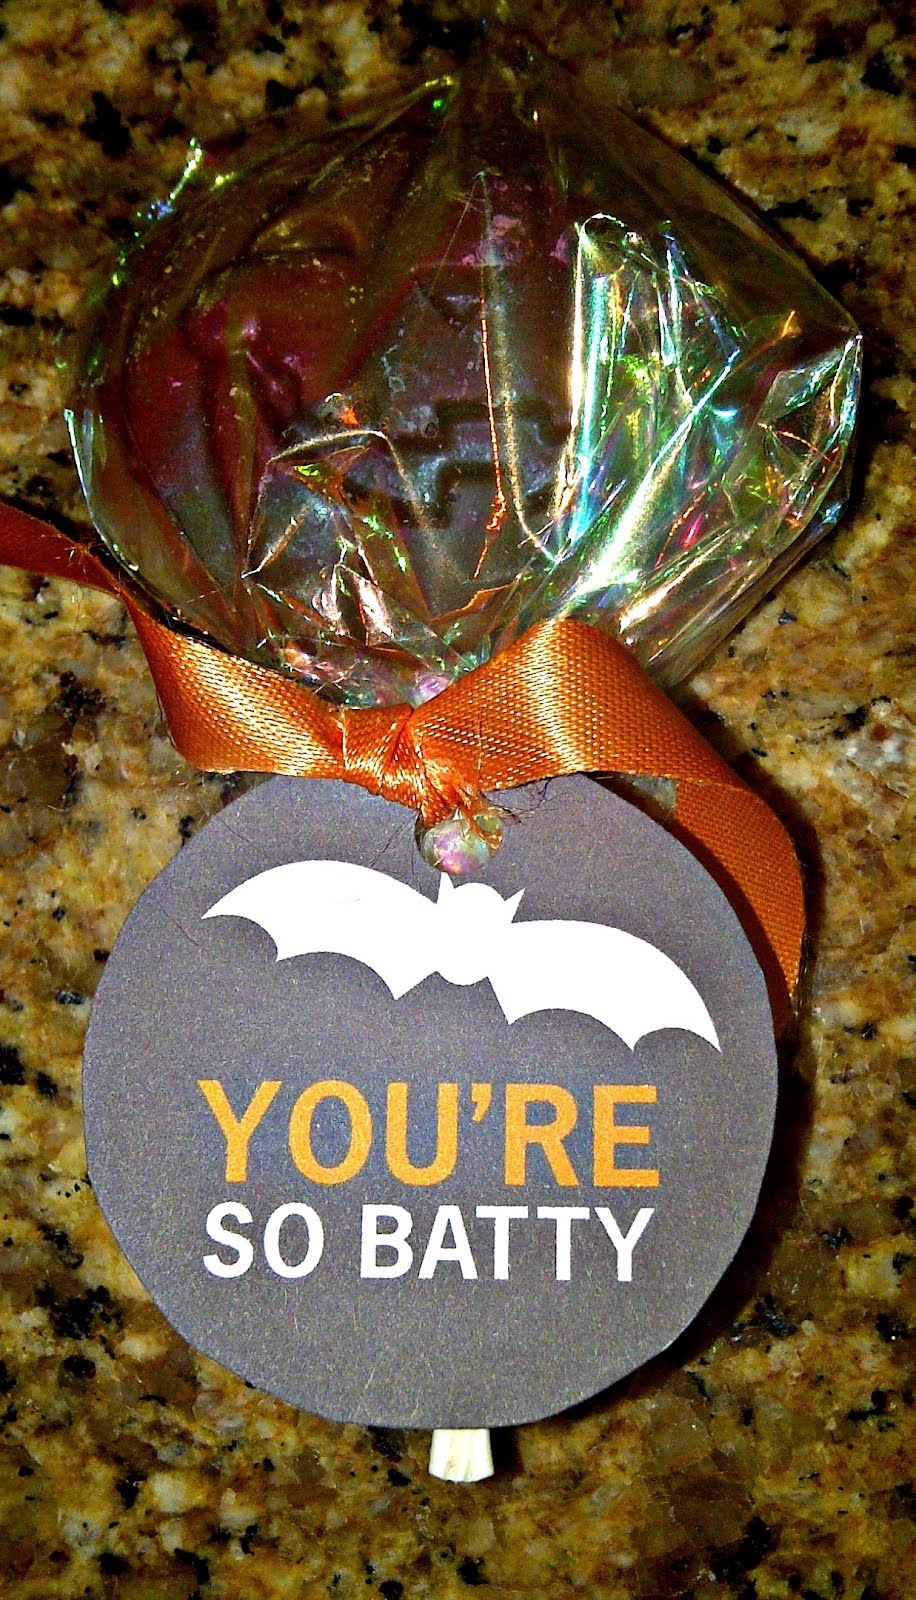
And now onto the gifts...
Catherine and I have been going to Busch Gardens/Virginia since we were in middle school. Therefore, I thought the best way to officially initiate her fiance into the family would be to take him to our Mecca! I paired this idea with our love for Halloween and made a gift basket featuring to "tickets" to Howl-O-Scream at Busch Gardens! First up, the card...


I used some engagement-themed stickers for the front and added some floral flourish and bling. The inside carries over the floral touches but incorporates the "Busch Gardens" aspect of
the gift.
 As for the actual content of the basket, I included 
a couple of small gifts from Yankee Candle  (a necessary excursion for any visitor to Williamsburg) and a few homemade touches. I printed out the Howl-O-Scream logo, glued the image to black card stock, added an "admit one" text at the end of the paper to create a "ticket-feel" and added glitter over the letters for a festive touch. I also put Halloween family pictures in clear, plastic frames and added scrapbook embellishments to jazz them up.


And here's the final product! 
Congratulations, Catherine and Tim! Can't wait for the DIY wedding crafts!

Tuesday, July 5, 2011

Nail Polish Organizer

Disclaimer: I have way too much nail polish, but I refuse to get rid of any old colors (you can always add a little nail polish remover to thin them out and they're good as new!).

My latest craft was to create a new nail polish holder by sprucing up a shoe box. All it took was a few coats of paint, and some glitter (as usual!)... and ta-da! I'm very satisfied with the result and it was such a simple craft.


Monday, June 6, 2011

DIY Agenda/Planner

Hello fellow craftheads!

One of my favorite crafts is to glitz up notebooks and agendas. I love adding that extra bit of personality to an everyday item!

This (below) is my latest agenda. First, I painted the background in an aqua color and added glitter down the front. Next, I taped a piece of scrapbook paper on the inside to give it a little extra je ne sais quoi. Then, I found a quote from one of my favorite websites, Tiny Buddha (tinybuddha.com -- go there, now! they have amazing quotes and articles posted daily), and cut out letters from the same font. That was easier than it seems, as I used to get this one store magazine mailing every month and they always use the same font. Finally, I taped the letters down, and I laminated everything with clear packing tape. VoilĂ !


What are your favorite quotes? Have any suggestions for future crafts?

Happy Monday,
Kat

Saturday, May 7, 2011

DIY Mother's Day Card

Looking for a last minute something for mom? Look no further!
This post is will give you the tools you need to create a beautiful card.

Option #1: Make your own card.

We at Craftheads love making our own cards, and here are a few easy steps to make one yourself:
1. It's all about the paper: Scrapbooking paper can come in really handy here. And even if you don't scrapbook all that much, it can still be used for a ton of non-scrapbooking-related projects. Pick out a pretty piece of paper to use as the background for your card.
2. Card stock: (This is optional if your scrapbooking paper does not have a design on both sides.) If you choose to use card stock, cut it down a few centimeters smaller than the size of the scrapbooking paper, and then secure with glue dots.
3. Inside text: Do you want to include some not handwritten wording on the inside of the card? If so, one way to do this is type up the text and print it out. Alternatively, you can use adhesive letters. The text on the card below was printed, and then cut out and secured with glue stick.
4. Make it your own: Add ribbon! Add glitter! Give it that "je ne sais quoi" that makes it extra special. In this case, we used ribbon and actually stumbled across a "MOM" in an advertisement (for some Mother's Day sale) that fit perfectly with the color scheme -- it was meant to be!
5. Add your "tag": You know how Hallmark has that gold crown on the back of their cards? Come up with a symbol, letter, sketch -- something that symbolizes you to give your card an extra touch.


Funny story about this card (above). My mom and I made it together for my grandma (hi grandma!). This was after we spent entirely too long walking around, unimpressed with the card selection at a few stores. We decided that we could make a prettier card ourselves (and also make one that didn't cost $5!). I think it came out really well.


Option #2: Use a template.
I've been looking for some Mother's Day craft ideas online and there are some fabulous templates and free downloads that people have made and have graciously shared with cyberspace. If you don't have the time to make a card like in option #1, you can pick one of these beauts that will be sure to WOW your mom.

(Photo is property of MUFN INC)
What a gorgeous card! And Pauline also gives you a tutorial about how to make a tissue paper pom-pom bouquet.


(Photo is property of Rhonna Designs)
I love the texture of this card and the scrapbooking feel it has. Absolutely stunning!


Martha Stewart's website is another treasure trove of inspiration! Here are two cards inspired by the crafters at Martha:
This one is simply little tissue-paper flowers crumpled into little layers of complimentary colors

This one is just a drawing covered entirely in glitter! I used a glue pen (from Michael's) for accuracy.


What kind of a card are you giving your mom on Mother's Day?
What are characteristics of a great card?

With love and glue dots,
Laila and Kat

Sunday, May 1, 2011

A splash of colour...

I am an eco-nerd. I try to recycle and repurpose objects first instead of just throwing them away. Part of the reason why I love crafting so much is that you can customize everyday objects and give them a "facelift" so to speak without breaking the bank. Since I really enjoy painting, this post is about how simple acrylic paint can be used to spruce up everyday objects and make them new again.

This first project was actually done a few months ago. We're big on having fresh flowers around in my family, and so I wanted to customize this empty wine bottle and turn it into a vase that matched our kitchen. I hand painted flowers on the vase with forest green, light peach and white paint. I like how you can see the texture of the thick brushstrokes so clearly.


Next, is a gift I had crafted for my dad for Christmas. He asked for a Keurig coffee machine, and I wanted to make him a personalized K-cup holder to store the coffee packets. Again, for this project I used acrylic paint on a wooden box. Then, I added brown glitter on the front of the box to give the effect of steam coming out of the cup.


The last craft is probably my favorite of the three. I started with a red tin that my uncle had given me to craft (thanks, Uncle Mike!). I wanted to turn it into a mint tin that could fit in my purse. I'm a big fan of glitter, and I wanted to make this tin bright and sassy. I started with a few coats of hot pink acrylic paint, and then poured pink glitter on top while the paint was still drying to act as an adhesive. After the glitter dried, I used blue puff paint to write "Sugar Lips." I could not be happier with the result.


I'm always looking to revamp everyday objects so if you have any suggestions please let me know.

Reduce, reuse & recycle,
Kat